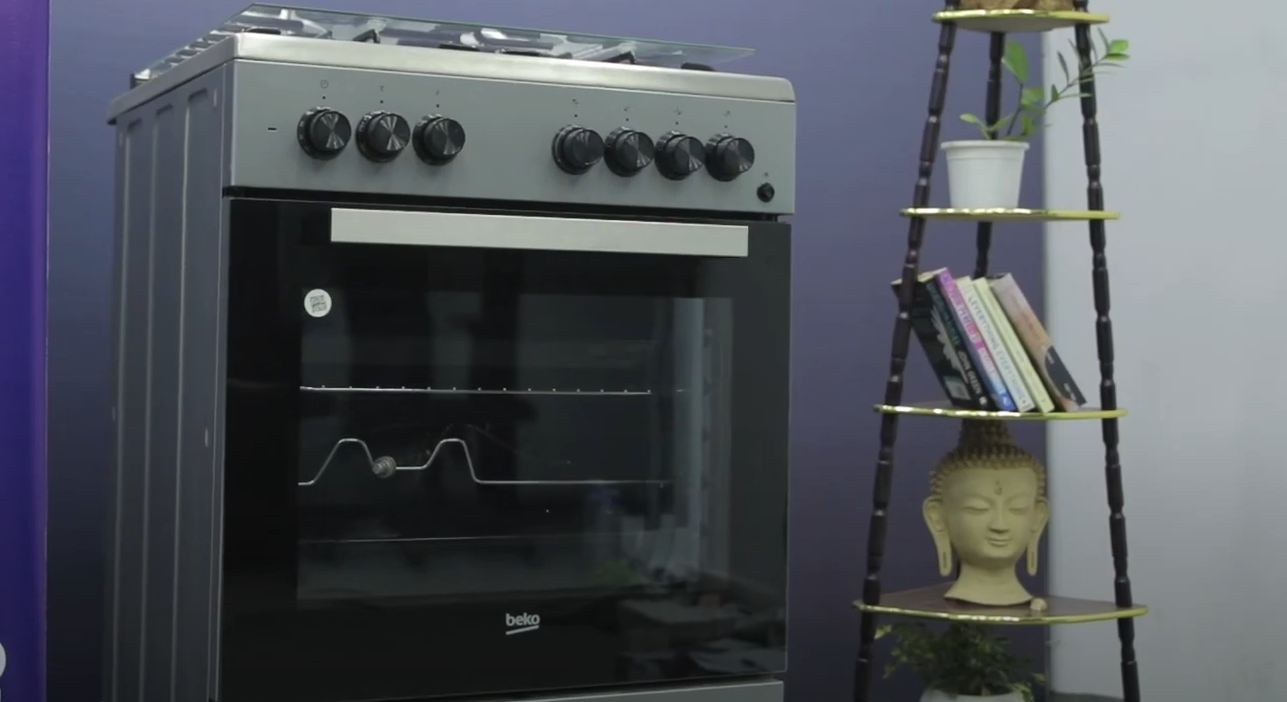
An often-overlooked component of an oven is the clock. It does so much more than tell time. For instance, one of the most popular brands, Beko, has models that require a digital clock to be set so the oven can start cooking.
The LED display will not only tell you the correct time but also be helpful as a digital timer. The key is to make sure that you set it when you first buy the cooker or after you lose power and the clock resets.
Before you do anything, you must know how to set the cooking time and time delay features, enabling you to cook your meals at a time that best suits your busy family’s schedule. This guide will teach you to set the clock correctly to get the most out of your Beko oven.
Setting the Time
Setting the time on a Beko oven clock is a straightforward process that can be done in just a few steps. It’s a crucial first step to using your oven efficiently and getting the best results from your cooking and baking.
Here are the steps to take to set the time:
- Locate the clock/timer button on the oven control panel.
- Press and hold the clock/timer button until the clock display starts flashing.
- Use the + and – buttons to adjust the time to the correct hour.
- Press the clock/timer button again to move to the minute’s display.
- Use the + and – buttons to adjust the time to the correct minute.
- Once the right time is set, press the clock/timer button to save the changes.
That’s it! Your Beko oven’s clock is now set to the correct time.
Setting and Using the Minute Minder
A convenient tool to have on your Beko oven clock is the Minute Minder. This helpful electronic timer can help you achieve perfectly timed and cooked food by preventing under-cooking or overcooking. Using this feature, you can set a reminder to alert you when your food is ready, ensuring you take advantage of the perfect cooking time.
- Locate the clock symbol on the oven control panel.
- Press the button to activate the feature, which will light a flashing bell symbol.
- Use the + and – buttons to set the desired duration for the timer.
- Once the electronic timer is set, the oven will begin to count down.
- When the time is up, the oven will beep, and the bell symbol will flash to alert you that your food is ready.
Setting the Cooking Time
Your Beko oven’s LED display offers another useful feature – the ability to set a cooking time for a specific duration. This feature allows your oven to automatically turn off once the timer runs out, which is incredibly helpful when you have other tasks to attend to around your house. With this feature, you can avoid over-cooking your food and enjoy perfectly cooked meals without the hassle.
- Choose the appropriate cooking function and temperature for your food.
- Press the timer button until the cooking time symbol appears at the bottom left corner of the LED display.
- Use the plus and minus buttons to set the desired cooking duration.
- Press the timer button once again to confirm and activate the timer.
- Once the timer has counted down, the oven will automatically switch off.
FAQ
Is it normal for my oven timer to display “AUTO”, “A”, or an arrow sign on the LED display?
The “AUTO”, “A”, or an arrow sign between two vertical lines on your oven timer display indicates that your electronic timer has been programmed to turn off automatically at a specific time. To use your cooker manually, you must cancel the timer function first. Press the timer button until the timer symbol disappears from the LED display. See your user manual for mor einformation.
Why is the clock symbol flashing on my display?
When the clock symbol flashes on your Beko cooker LED display, the time setting has been reset. This can occur when there is a power outage. You must set the oven’s clock to the correct time to remove the flashing symbol. Once the clock is set, the flashing symbol will disappear from the display.
Final Thoughts
Sometimes even the most straightforward function on a cooker can be a source of confusion. Hopefully, this guide has taken some of the mystery out of setting up the clock on a Beko oven. It’s a simple function, but you’ll get the most out of your cooking experience when you know how to use it.
