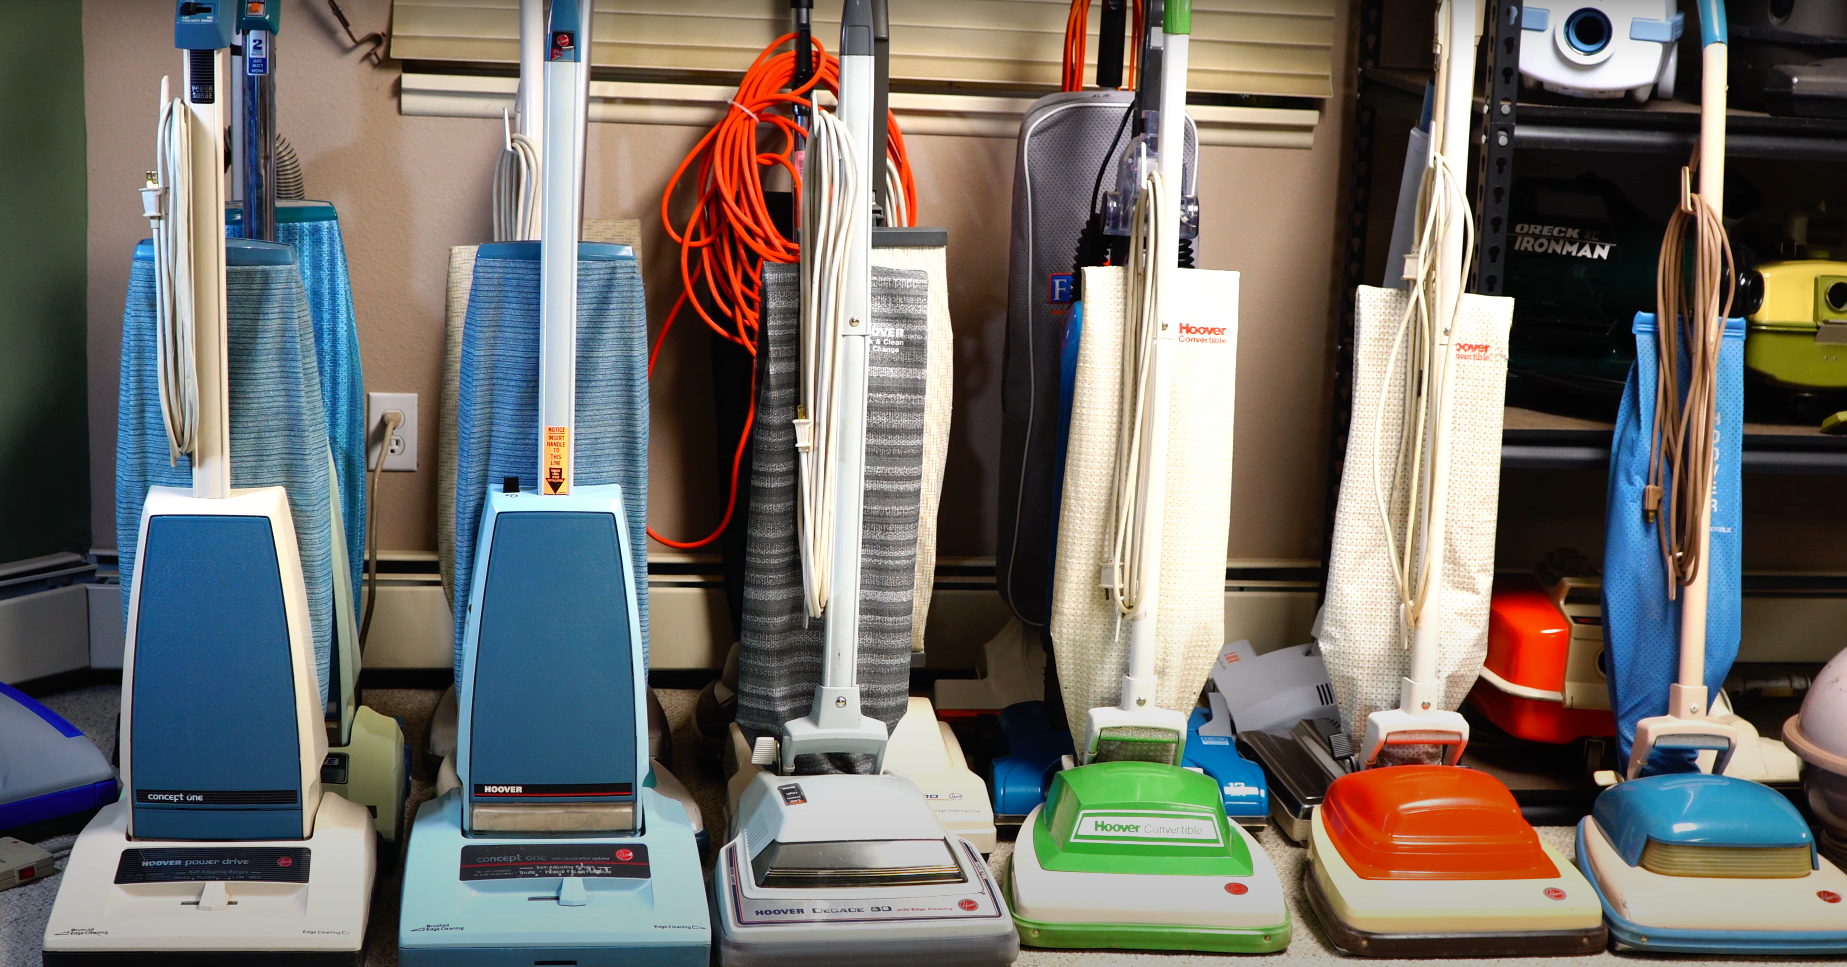
For almost everyone, vacuum cleaners are one of the most-used appliances in a home. These helpful machines make cleaning up crumbs, dust, and other messes from floors, upholstery, and other surfaces easy.
But just as it’s essential to maintain and keep other household appliances clean, the same applies to your Hoover. Keeping the filter on your vacuum machine clean is crucial to maintenance.
Even the best quality vacuum brand on the market must be cleaned monthly. Fortunately, keeping the filters clean is not much of a chore.
To clean a hoover filter, you’ll usually remove the dustbin canister or bag before removing the filter. After emptying the canister, you can clean the filter by wiping or brushing away the dirt or rinsing it with cold water.
However, all types of filters have a slightly different cleaning process, so read on to find out what you need to know to care for your hoover.
The Importance Of Clean Filters
The filter protects the motor by refining the air as it passes through the machine to prevent debris from gathering. If you don’t keep the filter clean, the vacuum won’t be able to pick up dust and dirt properly.
The loss of suction won’t just make cleaning your home more frustrating, as dirty filters also make the appliance work harder, which can cause it to overheat and even burn out. As a result, you’ll need to buy a new hoover a lot sooner.
How Often To Clean The Filters
If it seems like your vacuum cleaner is not working entirely as well as it used to, there’s a good chance the filter is dirty.
It’s recommended to clean the filters at least once a month. However, if you have pets or need to vacuum your home more frequently for other reasons, it’s worthwhile to clean the filters every two to three weeks instead.
Before You Get Started
But before you get started, be sure to switch off and unplug the appliance.
You’ll also need a few things to clean the filters correctly. A washcloth, microfiber cloth, all-purpose cleaning product, soft brush, drying rack, and a sink or bowl are a few essentials to gather.
Removing The Pre-Motor Or Vacuum Filter
There are two filters in Hoover vacuums; the vacuum filter or pre-motor filter and the exhaust or post-motor filter. Cleaning the filters can be a slightly different process, depending on the machine’s make and model number.
The vacuum filter is located inside the dustbin of the appliance. You’ll need to remove the dustbin compartment by twisting it anti-clockwise to remove the filter. The mechanism to remove the dust bin might differ depending on the model, but the component should have printed instructions.
Nevertheless, once you have removed the dustbin canister, remove the cap on the filter by turning it clockwise. You should find instructions printed on the cap as well. Now that the cap is removed, you can remove the vacuum filter by gently lifting it off the spindle.
Removing The Exhaust Filter
The exhaust filter is the last filter on a hoover that air passes through before it’s released. This filter won’t get as dirty as the vacuum filter, but it’s still crucial to clean this part once a month along with the first filter.
The exhaust filter is located on the motor at the back of the appliance. To remove the part, remove the lid by pressing down on securing buttons or clasps.
Pull back on the lid of the motor head to reveal the exhaust filter. Next, gently tug the filter compartment off.
While most hoovers have two filters, these parts can be made from various materials, depending on the appliance model. So it’s essential to know how to clean the type of filter material.
Washable Filter
A washable filter can be rinsed in cold water; there is usually no need for a cleaning solution. But if the filter is significantly dirty, a light cleaning solution can be used to loosen stubborn dirt.
It’s important to avoid washing the filters in a washing machine, and it’s never wise to dry parts in the tumble dryer, either. Unfortunately, both appliances can damage filters easily.
Always leave the filter in a warm place to air dry for at least 24 hours. If you don’t let filters dry properly, mold can grow within the part, which can be a health concern.
Non-Washable Filter
To wash a non-washable filter, you won’t need any water at all. Instead, gently remove debris by hand and then use a soft-bristle brush to remove excess dust and debris. Lastly, you’ll also want to use a cloth to clean leftover dirt particles.
Non-washable filters are a bit more convenient because there is no need to air dry the component before putting it back. These filters are also less likely to develop mold as a result of this.
Foam Filter
Foam filters can be cylindrical or flat round sponges in different sizes, depending on the hoover model. These filters are easy to clean but do require a longer drying time.
Mix a solution of two drops of dishwashing liquid or other all-purpose cleaner and two cups of hot water. In a bowl of this cleaning solution, submerge the foam and gently squeeze the filter to wash it.
If the water turns black with excess dust and dirt, rinse and repeat the process with a fresh cleaning solution to squeeze the foam filter until the water runs clear. If you don’t repeat the process enough and there is still some dirt in the filter, a musty, stale odor may develop. Worse yet, the damp debris may cause mold growth. So be sure to wash and rinse foam filters properly.
Once the filter is clean, place it on a drying rack and let it air dry for a minimum of 24 hours. Never replace the filter in the machine if it’s still wet or slightly damp.
If foam filters start smelling slightly stale after a few washes, freshen them up with a spritz of essential oil and consider leaving the part in sunlight for a bit to dry out more.
HEPA Filter
A high-efficiency particulate air or HEPA filter traps about 99% of particles larger than 0.3 microns. These filters are made of synthetic fibers, and they are pretty easy to wash.
Cleaning a HEPA filter is as simple. First, brush any excess dust and dirt from the component. You can then tap the filter gently against a handrail to loosen more dust and debris. Once you have removed most of the dust and debris, rinse the part under cold water.
Keeping Your Vacuum Cleaner Filters Cleaner For Longer
Even though you should make a note to clean the filters once a month, you can still minimize the effort of this monthly chore by keeping the filters clean for longer.
Empty the vacuum cleaner’s dustbin canister or bag frequently and clean the vent covers of dust after each use. It’s also important to clean the brush head after each use.
Other Maintenance And Cleaning Tips
If you notice your Hoover losing suction power even though the filters are clean, check if the brush is dirty or the hose is clogged up.
To check if the hose is clogged, turn the appliance on and feel the drawing power at the end of the hose handle. If suction is low, there could be a clog. A clog can form anywhere in the hose, so you’ll need to run a stiff object through the length of the hose to loosen the clog. Try guiding a butter knife or other similar object through the hose to pull blockages loose.
If the hose is not blocked, you should check the brush head. If there is a mass build-up of debris like pet hair, this could be affecting the power. Clear the brush and test the suction power again.
Replacing The Filters
While it’s recommended that you replace the filters annually, if you notice signs of wear and tear, it’s best to replace the filter immediately. Another sign your Hoover needs a new filter is a moldy smell.
Where To Find New Filters
When replacing the filters on your vacuum cleaner, you can find replacement filters online from retailers like Amazon and eBay or order the replacement from the spares section on Hoover’s website.
Cleaning the filter on your hoover vacuum cleaner might be a bit of a messy chore, but devoting a few minutes towards this once a month ensures your vacuum cleaner will work well for longer. Along with this, you must also replace the filter once a year. These two actions will help you prevent having to replace your Hoover sooner than you need to.